Application root directory javascript
EN : You can now position yourself in your project and install all the dependencies thanks to the command. FR : Vous pouvez maintenant vous positionnez dans votre projet et installer toutes les dépendances grâce à la commande. FR: Cela va installer les dépendances situées dans le fichier package. EN : You should not have any worries after installing the main dependencies. But if you have vulnerabilities, do not hesitate to carry out the following command to correct dependency concerns:.
If you want to start your project :. EN : You can now initialize a github directory within your project by executing the command.
Bibliothèque
FR : Vous pouvez maintenant initialiser un répertoire github au sein de votre projet en exécutant la commande. Choose a name. Create a readme file from the console 1 Add all the files of your project to send them on Git 2 Create a Commit with message 3 Select the good origin 4 Push this commit into your new directory 5.
Créez un fichier Readme à part de la console 1 Ajoutez tous les fichiers de votre projet pour les envoyer sur Git 2 Créez un Commit avec message 3 Sélectionnez la bonne origine 4 Poussez ce commit sur votre nouveau répertoire 5. EN : The next step: Installing the main dependencies and discovering the most useful tools. FR : La prochaine étape : Installation des dépendances principales et découverte des différents outils. Become a member. Sign in. Get started. Thibault Jp Follow. EN : Create a readme file from the console 1 Add all the files of your project to send them on Git 2 Create a Commit with message 3 Select the good origin 4 Push this commit into your new directory 5 FR : Créez un fichier Readme à part de la console 1 Ajoutez tous les fichiers de votre projet pour les envoyer sur Git 2 Créez un Commit avec message 3 Sélectionnez la bonne origine 4 Poussez ce commit sur votre nouveau répertoire 5 git add README.
Write the first response. Discover Medium. Make Medium yours. To run the project with a local web server, such as Node.
Node : présentation
And then, to configure the code sample before you execute it, skip to the configuration step. To run this tutorial, you need a local web server, such as Node. Si vous utilisez Node. If you're using Node. Les instructions de ce guide reposent sur Node. Instructions in this guide are based on both Node.
Assurez-vous que vous avez installé Node. Créez un fichier index. Create an index. Dans le fichier index. Vous pouvez remplacer la version de MSAL. You can replace the version of MSAL. Ajoutez le code ci-après à votre fichier index.
Déterminer la racine du projet à partir d’une application noroi-jusatsu.info en cours d’exécution IP Girl
Quand un utilisateur clique sur le bouton Se connecter pour la première fois, la méthode signIn appelle loginPopup pour le connecter. After a user clicks the Sign In button for the first time, the signIn method calls loginPopup to sign in the user. This method results in opening a popup window with the Microsoft identity platform endpoint to prompt and validate the user's credentials.
Ensuite, un jeton est reçu, puis traité par msal. As a result of a successful sign-in, the user is redirected back to the original index. This token is known as the ID token and contains basic information about the user, such as the user display name. If you plan to use any data provided by this token for any purposes, you need to make sure this token is validated by your backend server to guarantee that the token was issued to a valid user for your application.
NET pour la validation du jeton. Par conséquent, acquireTokenSilent doit être utilisé pour acquérir des jetons dans la plupart des situations. After the initial sign-in, you do not want to ask users to reauthenticate every time they need to request a token to access a resource — so acquireTokenSilent should be used most of the time to acquire tokens. Calling the acquireTokenPopup results in a popup window or acquireTokenRedirect results in redirecting users to the Microsoft identity platform endpoint where users need to interact by either confirming their credentials, giving the consent to the required resource, or completing the two factor authentication.
The acquireTokenSilent method handles token acquisitions and renewal without any user interaction. After loginPopup or loginRedirect is executed for the first time, acquireTokenSilent is the method commonly used to obtain tokens used to access protected resources for subsequent calls - as calls to request or renew tokens are made silently.
Make a call to acquireTokenPopup immediately, which results in prompting the user to sign in.
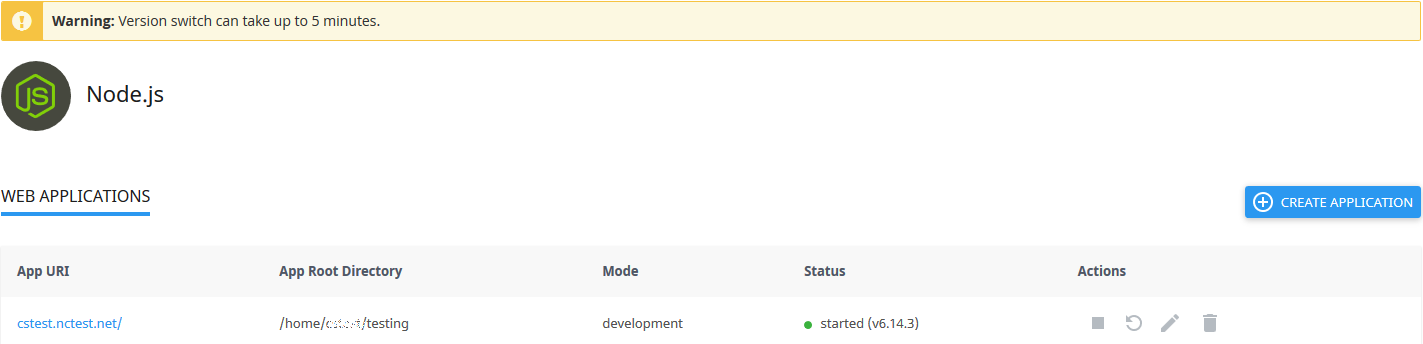
Déterminer la racine du projet à partir d’une application node.js en cours d’exécution
This pattern is commonly used in online applications where there is no unauthenticated content in the application available to the user. The sample generated by this guided setup uses this pattern. Applications can also make a visual indication to the user that an interactive sign-in is required, so the user can select the right time to sign in, or the application can retry acquireTokenSilent at a later time. This is commonly used when the user can use other functionality of the application without being disrupted - for example, there is unauthenticated content available in the application.
In this case, the user can decide when they want to sign in to access the protected resource, or to refresh the outdated information. This quickstart uses the loginRedirect and acquireTokenRedirect methods when the browser used is Internet Explorer due to a known issue related to handling of popup windows by Internet Explorer browser.
In the sample application created by this guide, the callMSGraph method is used to make an HTTP GET request against a protected resource that requires a token and then return the content to the caller. For the sample application created by this guide, the resource is the Microsoft Graph API me endpoint — which displays the user's profile information.
Connectez-vous au Portail Azure. Sign in to the Azure portal. Si votre compte vous propose un accès à plusieurs locataires, sélectionnez le compte en haut à droite et définissez votre session de portail sur le locataire Azure AD souhaité. If your account gives you access to more than one tenant, select the account at the top right, and then set your portal session to the Azure AD tenant that you want to use.
Go to the Microsoft identity platform for developers App registrations page. When the Register an application page appears, enter a name for your application. Sous Types de comptes pris en charge , sélectionnez Comptes dans un annuaire organisationnel et comptes personnels Microsoft. Under Supported account types , select Accounts in any organizational directory and personal Microsoft accounts. Under the Redirect URI section, in the drop-down list, select the Web platform, and then set the value to the application URL that's based on your web server.
Sélectionnez Inscription. Select Register. On the app Overview page, note the Application client ID value for later use. This quickstart requires the Implicit grant flow to be enabled. In the left pane of the registered application, select Authentication. ID tokens and access tokens are required, because this app needs to sign in users and call an API.